
I consider myself extremely privileged to have had the opportunity to formally study audio engineering—something I had aspired to pursue since the age of 21. Learning and applying the science of sound to real-world projects provided exactly the kind of exposure a producer could ask for. Beyond technical growth, it gave me countless opportunities to refine not only my engineering and production skills, but also essential people and project management abilities.
One such project during my course involved producing a full record album, which required recording musicians or bands in a professional studio environment. The brief was simple but demanding: source an artist with original material and record them over the duration of the project, allowing them to act as creative “guinea pigs” while trusting the production process.
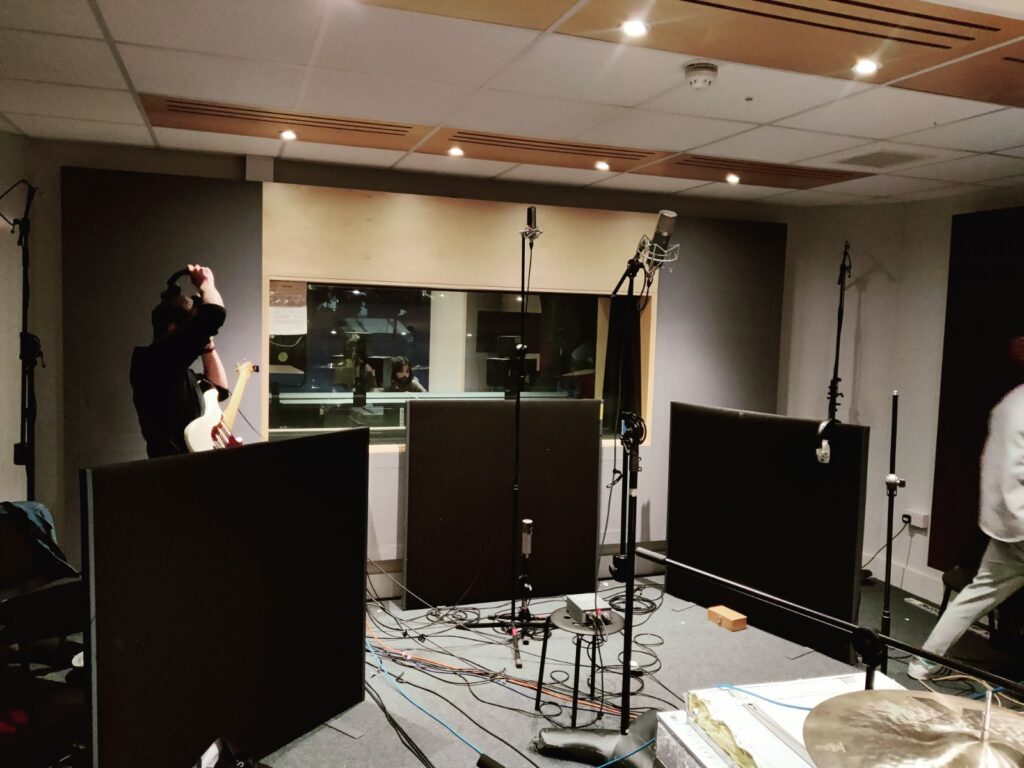
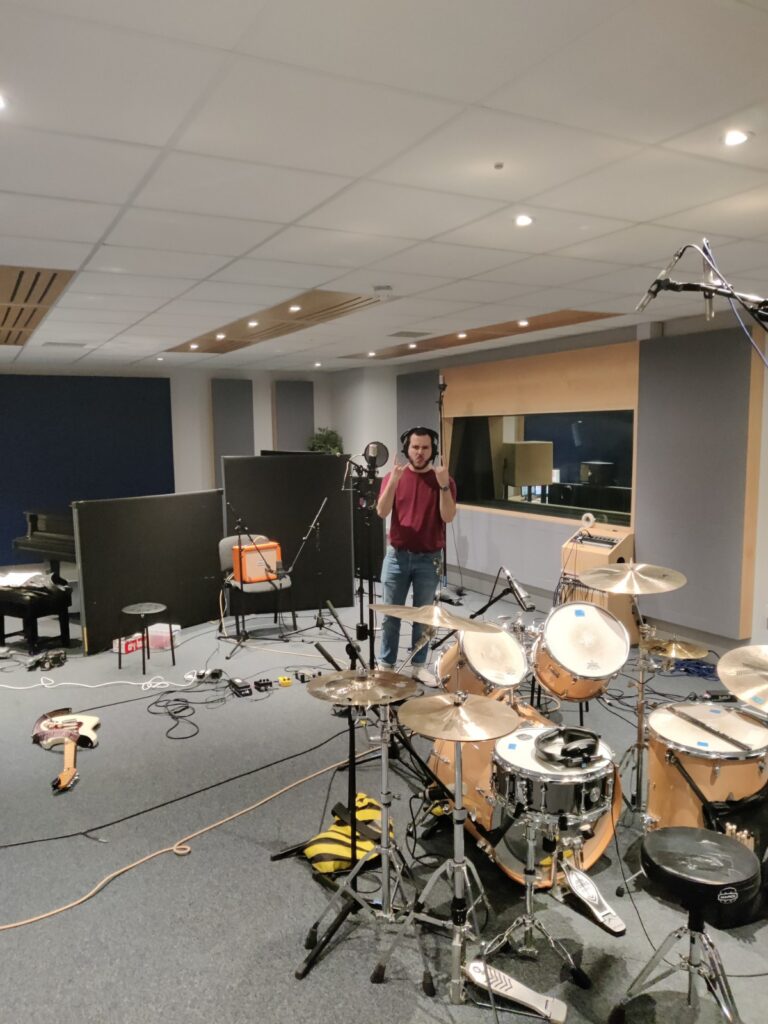
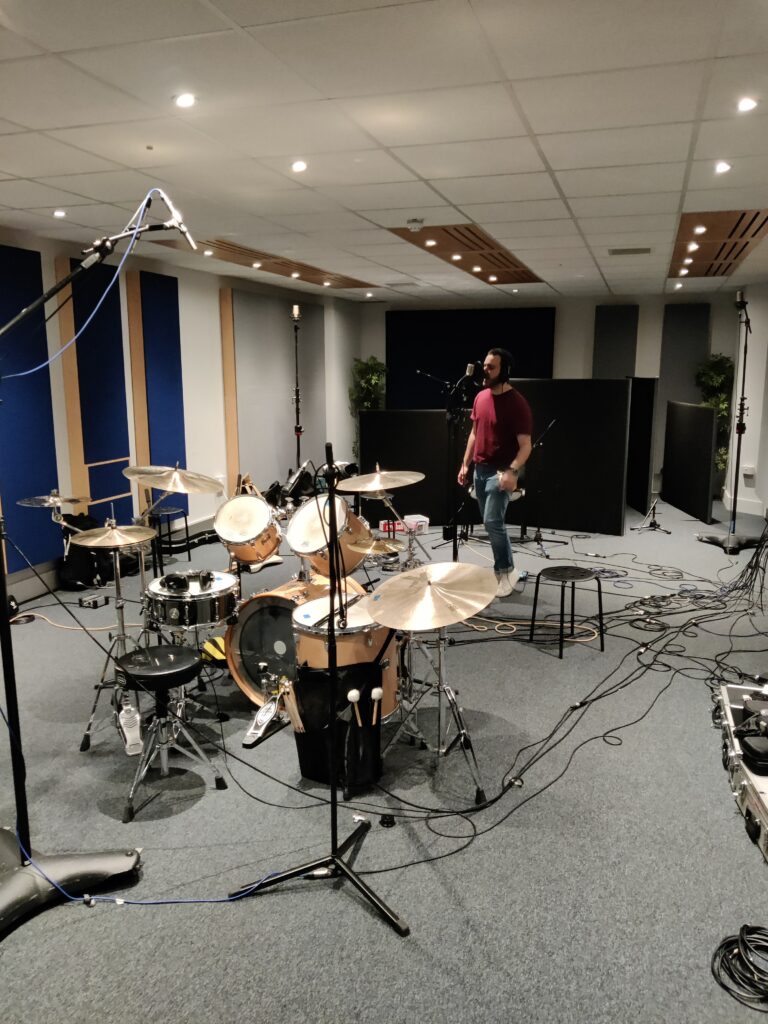
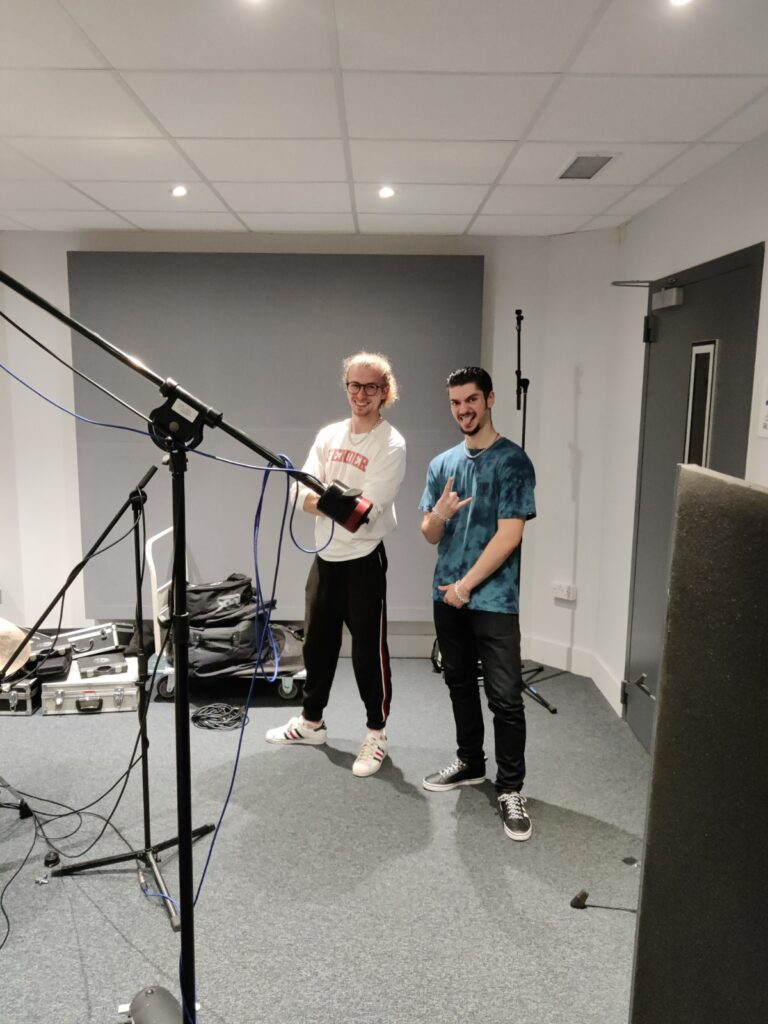
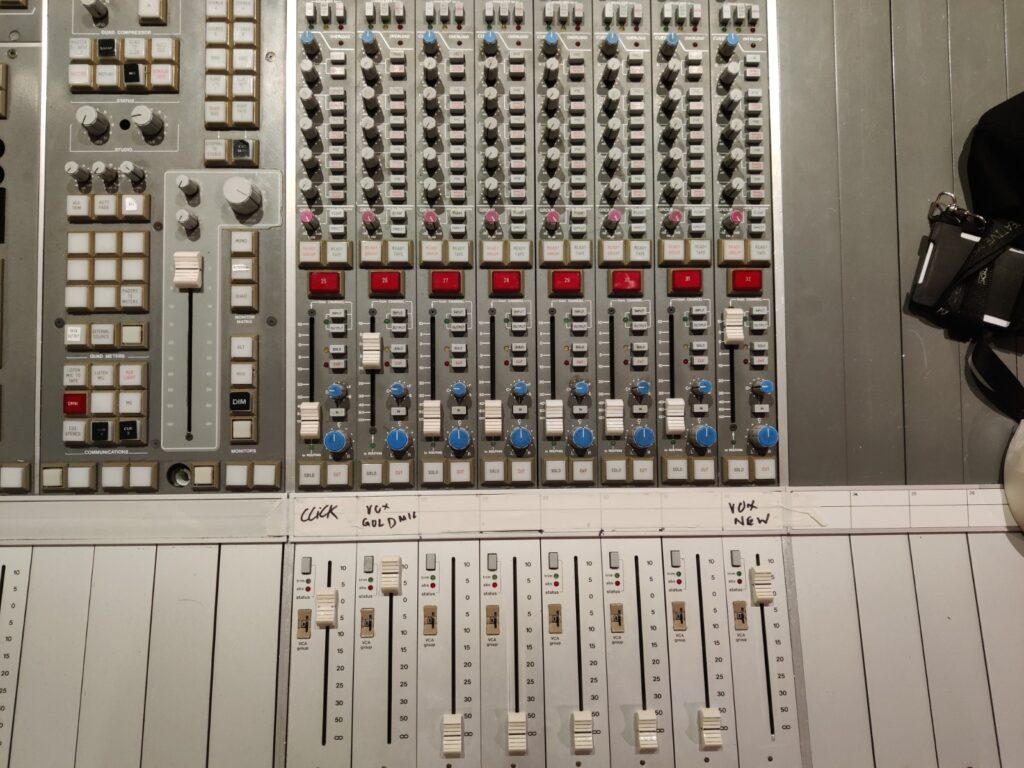
I was fortunate enough to collaborate with the talented London-based funk rock band Cherimoya, for whom I had the pleasure of recording and mixing six songs at SAE’s Bankstock Studios. This project was only possible thanks to the band’s trust in me and their willingness to invest both their time and creative vision. Working closely with them helped sharpen my ears and instincts, teaching me what to listen for—and what to address—at every stage of an album’s production: recording, editing, mixing, and even mastering.

Recording Philosophy and Microphone Decisions
Because this project was a university assignment, I was able to invest significant time in research and experimentation. I explored both classic and modern industry-standard recording techniques, while also examining the realities of modern production—where high-quality editing, DSP tools, and near-limitless processing options can easily lead to overproduction.
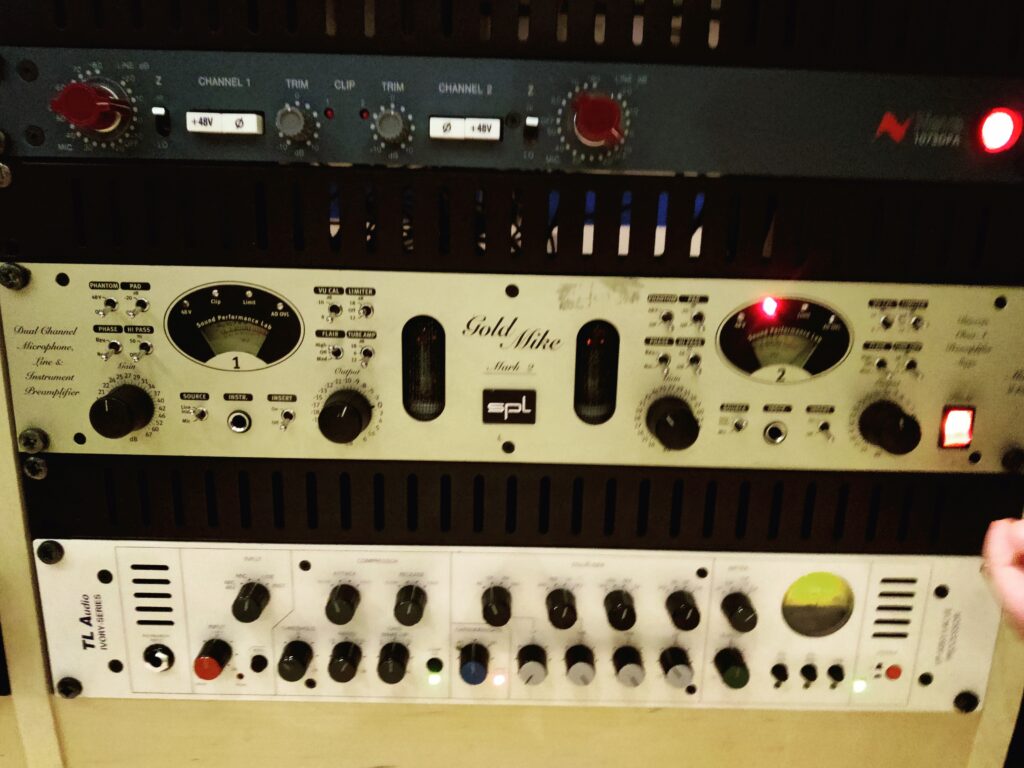
One of the most important lessons reinforced during this process was that certain decisions must be made at the recording stage and not deferred to mixing. For example, using high-quality preamps to shape tone at the source proved invaluable—particularly for drum elements and guitars, where warmth and harmonic character are crucial.
Microphone selection and placement were approached with intention.
-
Large-diaphragm microphones were used to capture the body and low-frequency weight of instruments such as kick drum and bass.
-
Very light ribbon microphones were introduced to capture smooth, detailed high frequencies without harshness.
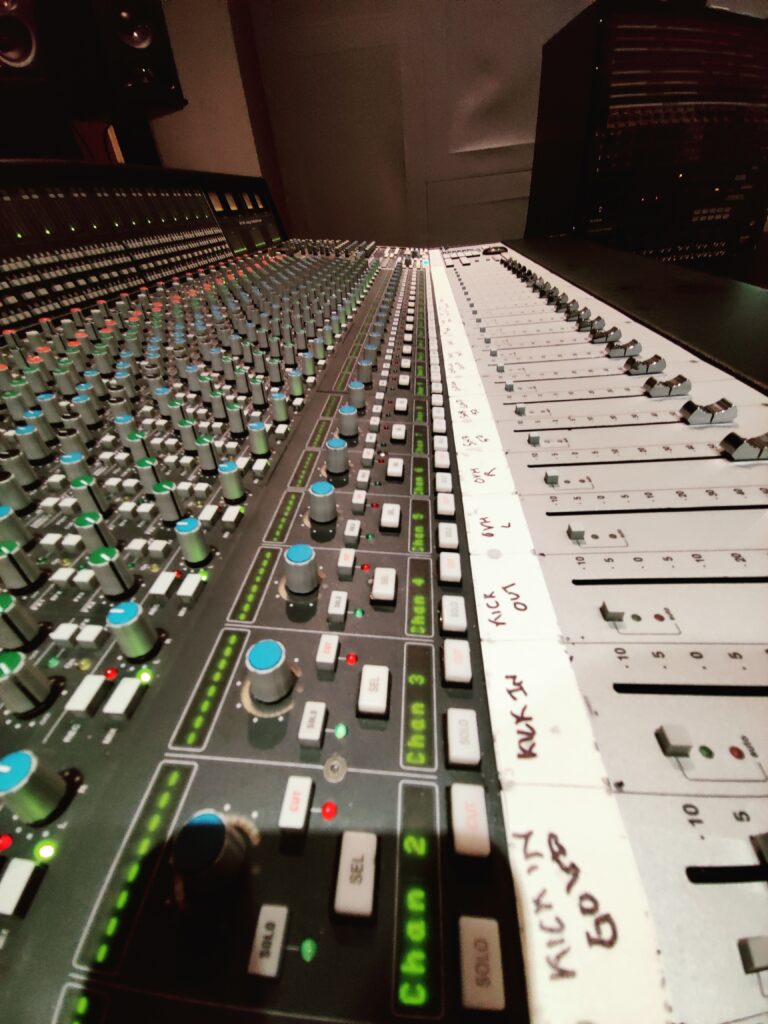
We also relied heavily on multi-microphone setups, particularly on kick, bass, and guitars. Using multiple microphones allowed us to capture varying tonal perspectives—direct sound alongside room and reverberant information. By placing microphones at different distances, we were able to capture more depth and body, creating options that could later be blended in the mix. This approach often helped enlarge the sound and add dimension without artificial processing.
Where time allowed, we experimented with different preamps. Warm Neve preamps were used on guitars to add richness and character, while a gold mic preamp was tested on the kick drum. This pairing worked exceptionally well on tracks like London and Sunshine, adding punch and clarity that translated beautifully throughout the mix.
Most of these recording decisions were planned during pre-production, ensuring the sessions remained efficient and intentional. All instruments were recorded cumulatively—tracked in isolation and later overdubbed—to maintain maximum control and clarity.
This project taught me a crucial lesson: try everything in the studio and leave nothing to chance in the mix. If something does not sound good during recording, it will not magically improve later. Conversely, if something excites you in the studio, it will almost always shine once mixed. My role during sessions was to observe these details carefully, request additional takes when necessary, and only move forward once everyone was satisfied—allowing editing to work its magic afterward.
Editing: Precision Meets Performance
This project allowed me to experience both sides of record production: unpolished and polished. Initially, the songs sounded strong without editing, but to meet industry standards, detailed editing became essential.
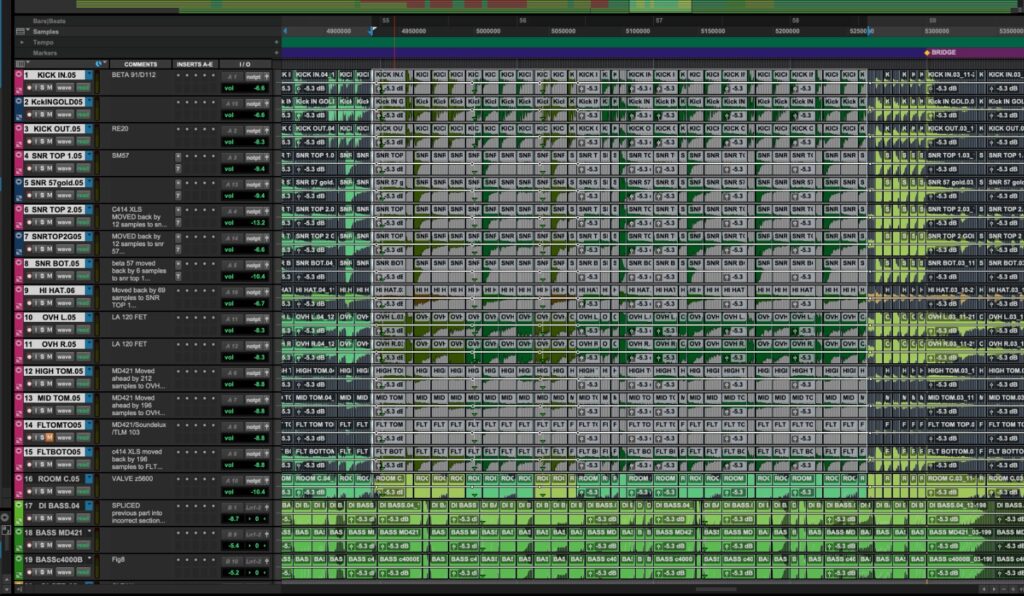
Editing involved creating composite tracks from the best takes, aligning multitrack recordings to avoid phase issues such as comb filtering, and quantizing performances to a consistent tempo grid. In many cases, tempo maps were created by beat-mapping the drums—especially for songs that were not recorded to a click due to intentional tempo changes.
I relied heavily on Beat Detective to tighten performances across all instruments, ensuring rhythmic consistency while maintaining feel. This tool proved invaluable in stitching edits together seamlessly and efficiently.
Editing was by far the most time-consuming phase. Every transient had to be audible, intentional, and rhythmically aligned—particularly for kick and bass, where phase correlation was critical. Much of this work required manual intervention and multiple rounds of review to ensure no small errors were overlooked. The cleaner and more precise the edits, the smoother the mix becomes and the easier it is to achieve clarity and impact.
Mixing Approach & Use of Compression
From a mixing perspective, the band and I shared a vision of an underpolished record—minimal effects, natural tones, and an intimate studio feel rather than a live recording aesthetic. Because of this, editing played an especially critical role in unlocking the full potential of the mix.
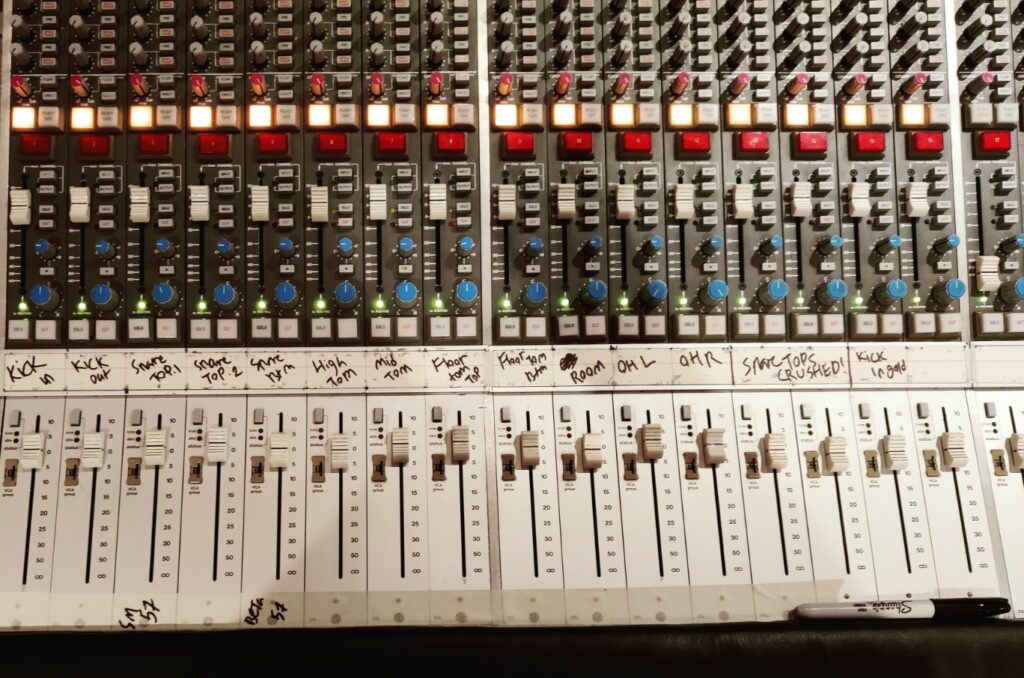
One recurring question during mixing was: what should be compressed, and how much?
From my experience, compression works best when performances are tightly edited. While human timing imperfections are inevitable, editing allows compressors to respond more consistently and musically. Quantized music enables compressors to breathe in time with the song, allowing transients to punch through evenly and rhythmically. However, over-compression can quickly make a track feel mechanical, so balance was key.

Hi, this is a comment.
To get started with moderating, editing, and deleting comments, please visit the Comments screen in the dashboard.
Commenter avatars come from Gravatar.